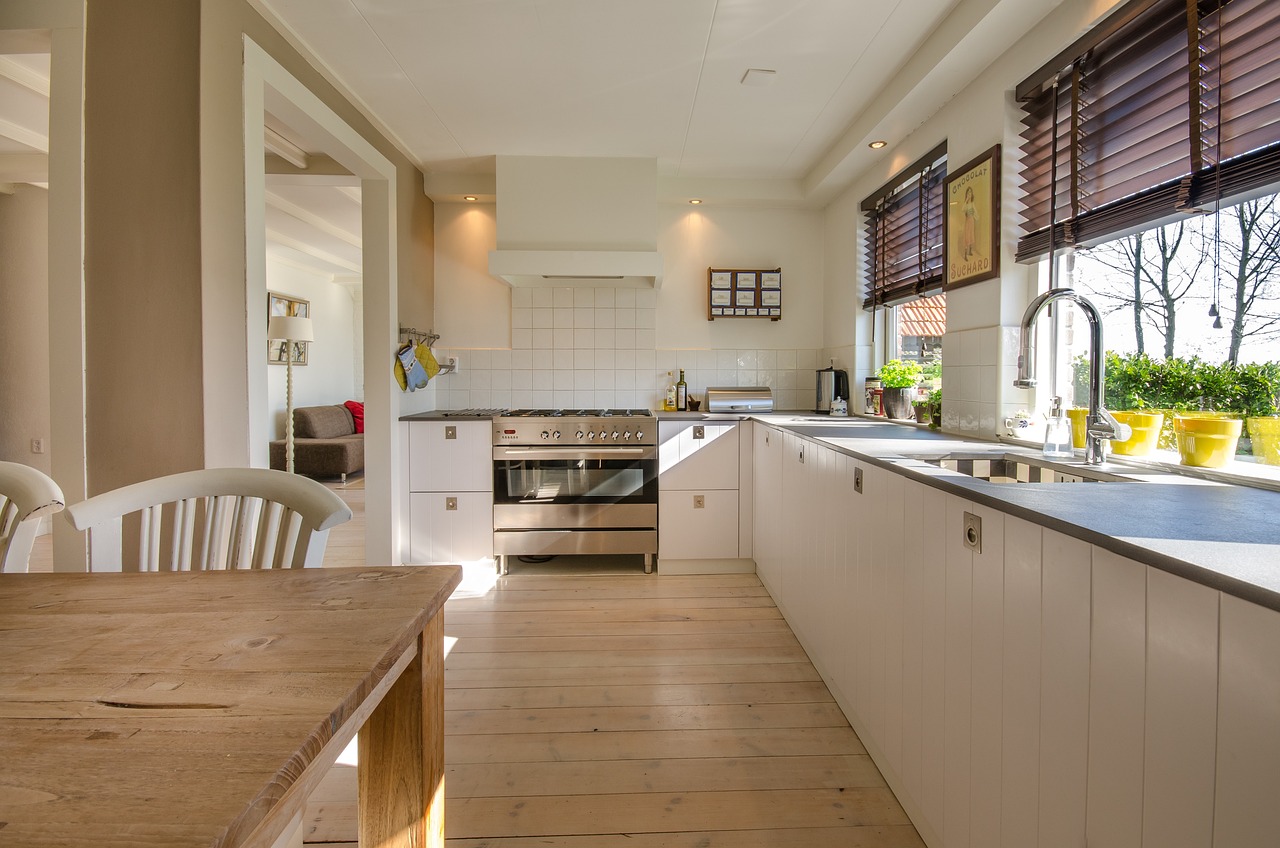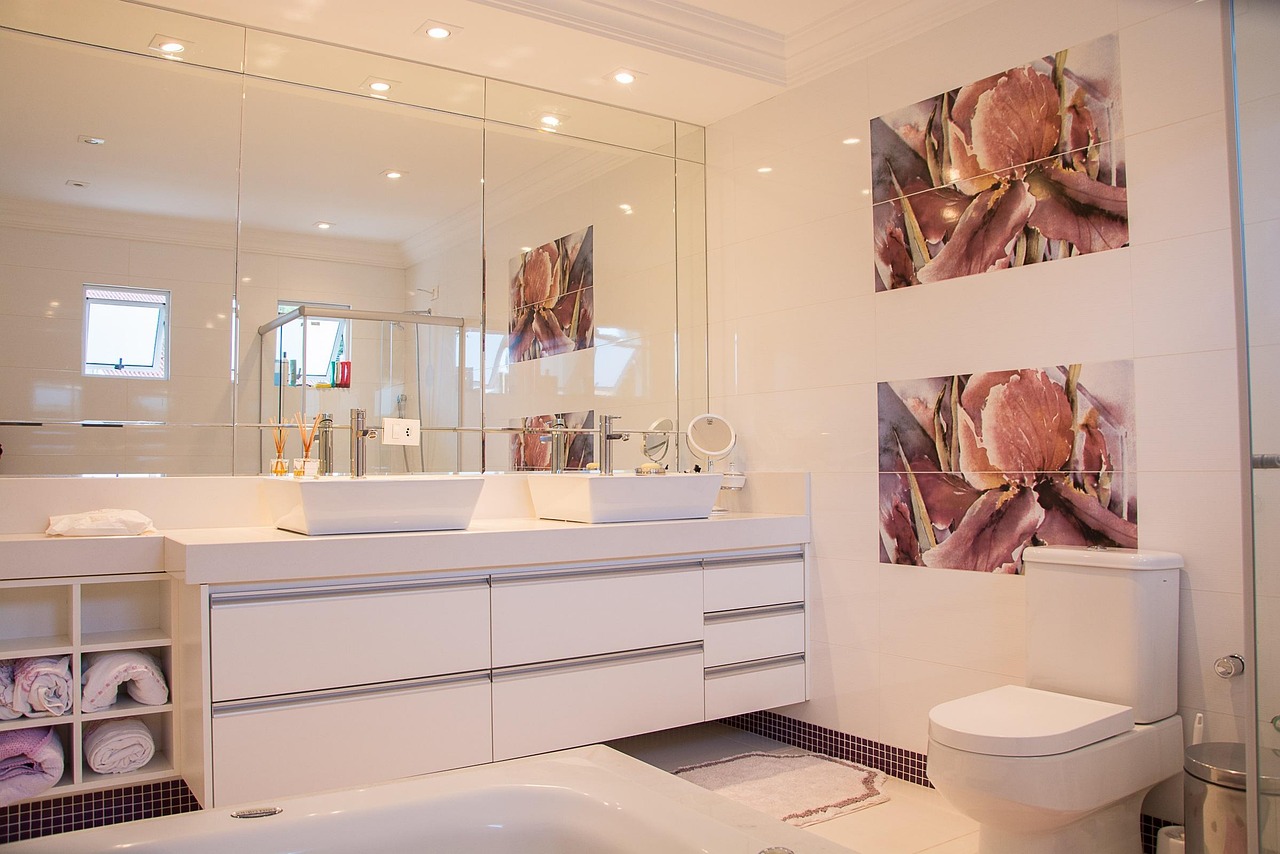
If your bathtub feels wasted or unsafe, converting it to a shower can make your bathroom more usable, easier to clean, and better suited to your daily needs. A tub-to-shower conversion typically increases space, improves accessibility, and can be completed faster and for less money than a full remodel, so you can get a practical upgrade without a huge disruption.
This post Tub to Shower Conversion will walk you through what a conversion involves, the common choices for materials and fixtures, and the key steps contractors take so you know what to expect and can make confident decisions. Expect clear guidance on costs, timing, and safety considerations so you can plan the right solution for your home.
Tub to Shower Conversion Overview
A tub-to-shower conversion replaces a bathtub with a dedicated shower space to improve accessibility, save floor area, or modernize fixtures. You’ll learn what the conversion entails, the main benefits, and the common shower types installers use.
What Is a Tub to Shower Conversion
A tub-to-shower conversion removes an existing bathtub and installs a shower enclosure, drain system, and showering surface. You may keep some plumbing in the same location, or reroute drains and water lines if you change the layout.
Typical tasks include demolition of the tub, inspection and repair of the subfloor, installation of a shower pan or curb, waterproofing (membrane or solid surface), wall finishes (tile, acrylic, or solid panels), and fitting shower fixtures. Time ranges from a single day for acrylic prefabs to several days for tile installations. Permit needs depend on local codes and the extent of plumbing or structural work.
Benefits of Converting a Tub to a Shower
You gain more usable floor space and easier cleaning when you swap a tub for a shower. Showers cut water pooling and often reduce maintenance compared with tubs.
Conversions improve safety and accessibility. You can specify low- or zero-threshold entries, built-in seats, grab bars, and slip-resistant flooring to support aging in place or mobility needs. Converting can also raise home value and appeal to buyers who prefer showers, though ROI varies by market and quality of finishes. Energy and water use may shift depending on showerheads and user habits.
Common Types of Shower Installations
- Prefab shower units: molded acrylic or fiberglass pans and walls.
- Pros: fastest install, lower cost, single-day replacement.
- Cons: limited styles and grout-free look.
- Tile showers: custom waterproofed base, mud bed or pre-slope, and tile walls and floor.
- Pros: fully customizable, durable, high-end appearance.
- Cons: longer install time, higher labor cost, requires regular grout maintenance.
- Solid-surface or composite panels: engineered stone or composite wall systems with integrated pans.
- Pros: seamless look, durable, easier to maintain than tile.
- Cons: higher material cost, fewer custom patterns.
- Barrier-free/walk-in showers: no curb or very low threshold with drain solutions like linear drains.
- Pros: best for accessibility and visual openness.
- Cons: may require subfloor slope adjustments and careful waterproofing.
Choose based on budget, timeline, desired maintenance level, and accessibility needs.
Key Steps and Considerations
You’ll confirm measurements, pick materials and fixtures that match plumbing and accessibility needs, and follow an organized installation sequence that minimizes surprises and rework.
Planning and Measuring Your Space
Measure the alcove width, wall height, and the distance from finished floor to the existing showerhead and drain. Note framing locations, nearby electrical outlets, and vent placement. Record rough-in plumbing dimensions (center-to-center of drain and supply lines) and check if the current drain is centered or offset; that dictates pan choices.
Inspect subfloor condition by probing for soft spots and checking for water damage behind the tub surround. Measure door swing or curtain clearance to ensure the new shower entry won’t hit cabinetry. Verify ceiling height if you plan taller glass doors or a rainfall fixture.
Create a simple plan with these items: final shower footprint, door type (sliding vs. hinged), and an accessibility checklist (zero-step threshold, grab bar locations, bench). Include a budget line for unexpected plumbing or structural repairs.
Material and Fixture Selection
Choose a shower base: prefabricated acrylic pan for faster install, or tiled/flumed mortar base for custom drainage and finishes. Match pan type to drain location; some pans require a centered drain. For walls, pick between solid-surface panels for low maintenance or cement backer with tile for design flexibility.
Select glass door hardware rated for your panel thickness and water-tightness needs. Pick a shower valve that fits your existing supply layout—pressure-balanced for safety or thermostatic for precise control. Consider ADA or aging-in-place features like grab bars, a fold-down bench, and a hand-held wand.
List maximums and mins: maximum showerhead height, minimum threshold height for curbless options, and grout vs. caulk maintenance intervals. Factor warranty coverage and lead times for custom glass or tile.
Installation Process Overview
Begin by removing the tub, keeping an eye on the wall finish and plumbing. After demo, inspect and repair framing, subfloor, and plumbing rough-in before installing the new drain assembly and pan or mortar bed.
Install waterproofing next: a bonded membrane over the substrate or full-panel solid-surface walls. Fasten the valve and shower fixtures once the substrate is stable; pressure-test supply lines before closing walls. Finish with glass door installation, sealant at all joints, and trim.
Plan for sequencing and time: demo (1 day), structural/plumbing repairs (1–3 days), substrate and waterproofing (1–2 days), fixtures and glass (1–2 days), and tile grouting or final sealing (2–3 days for curing). Schedule inspections if required.